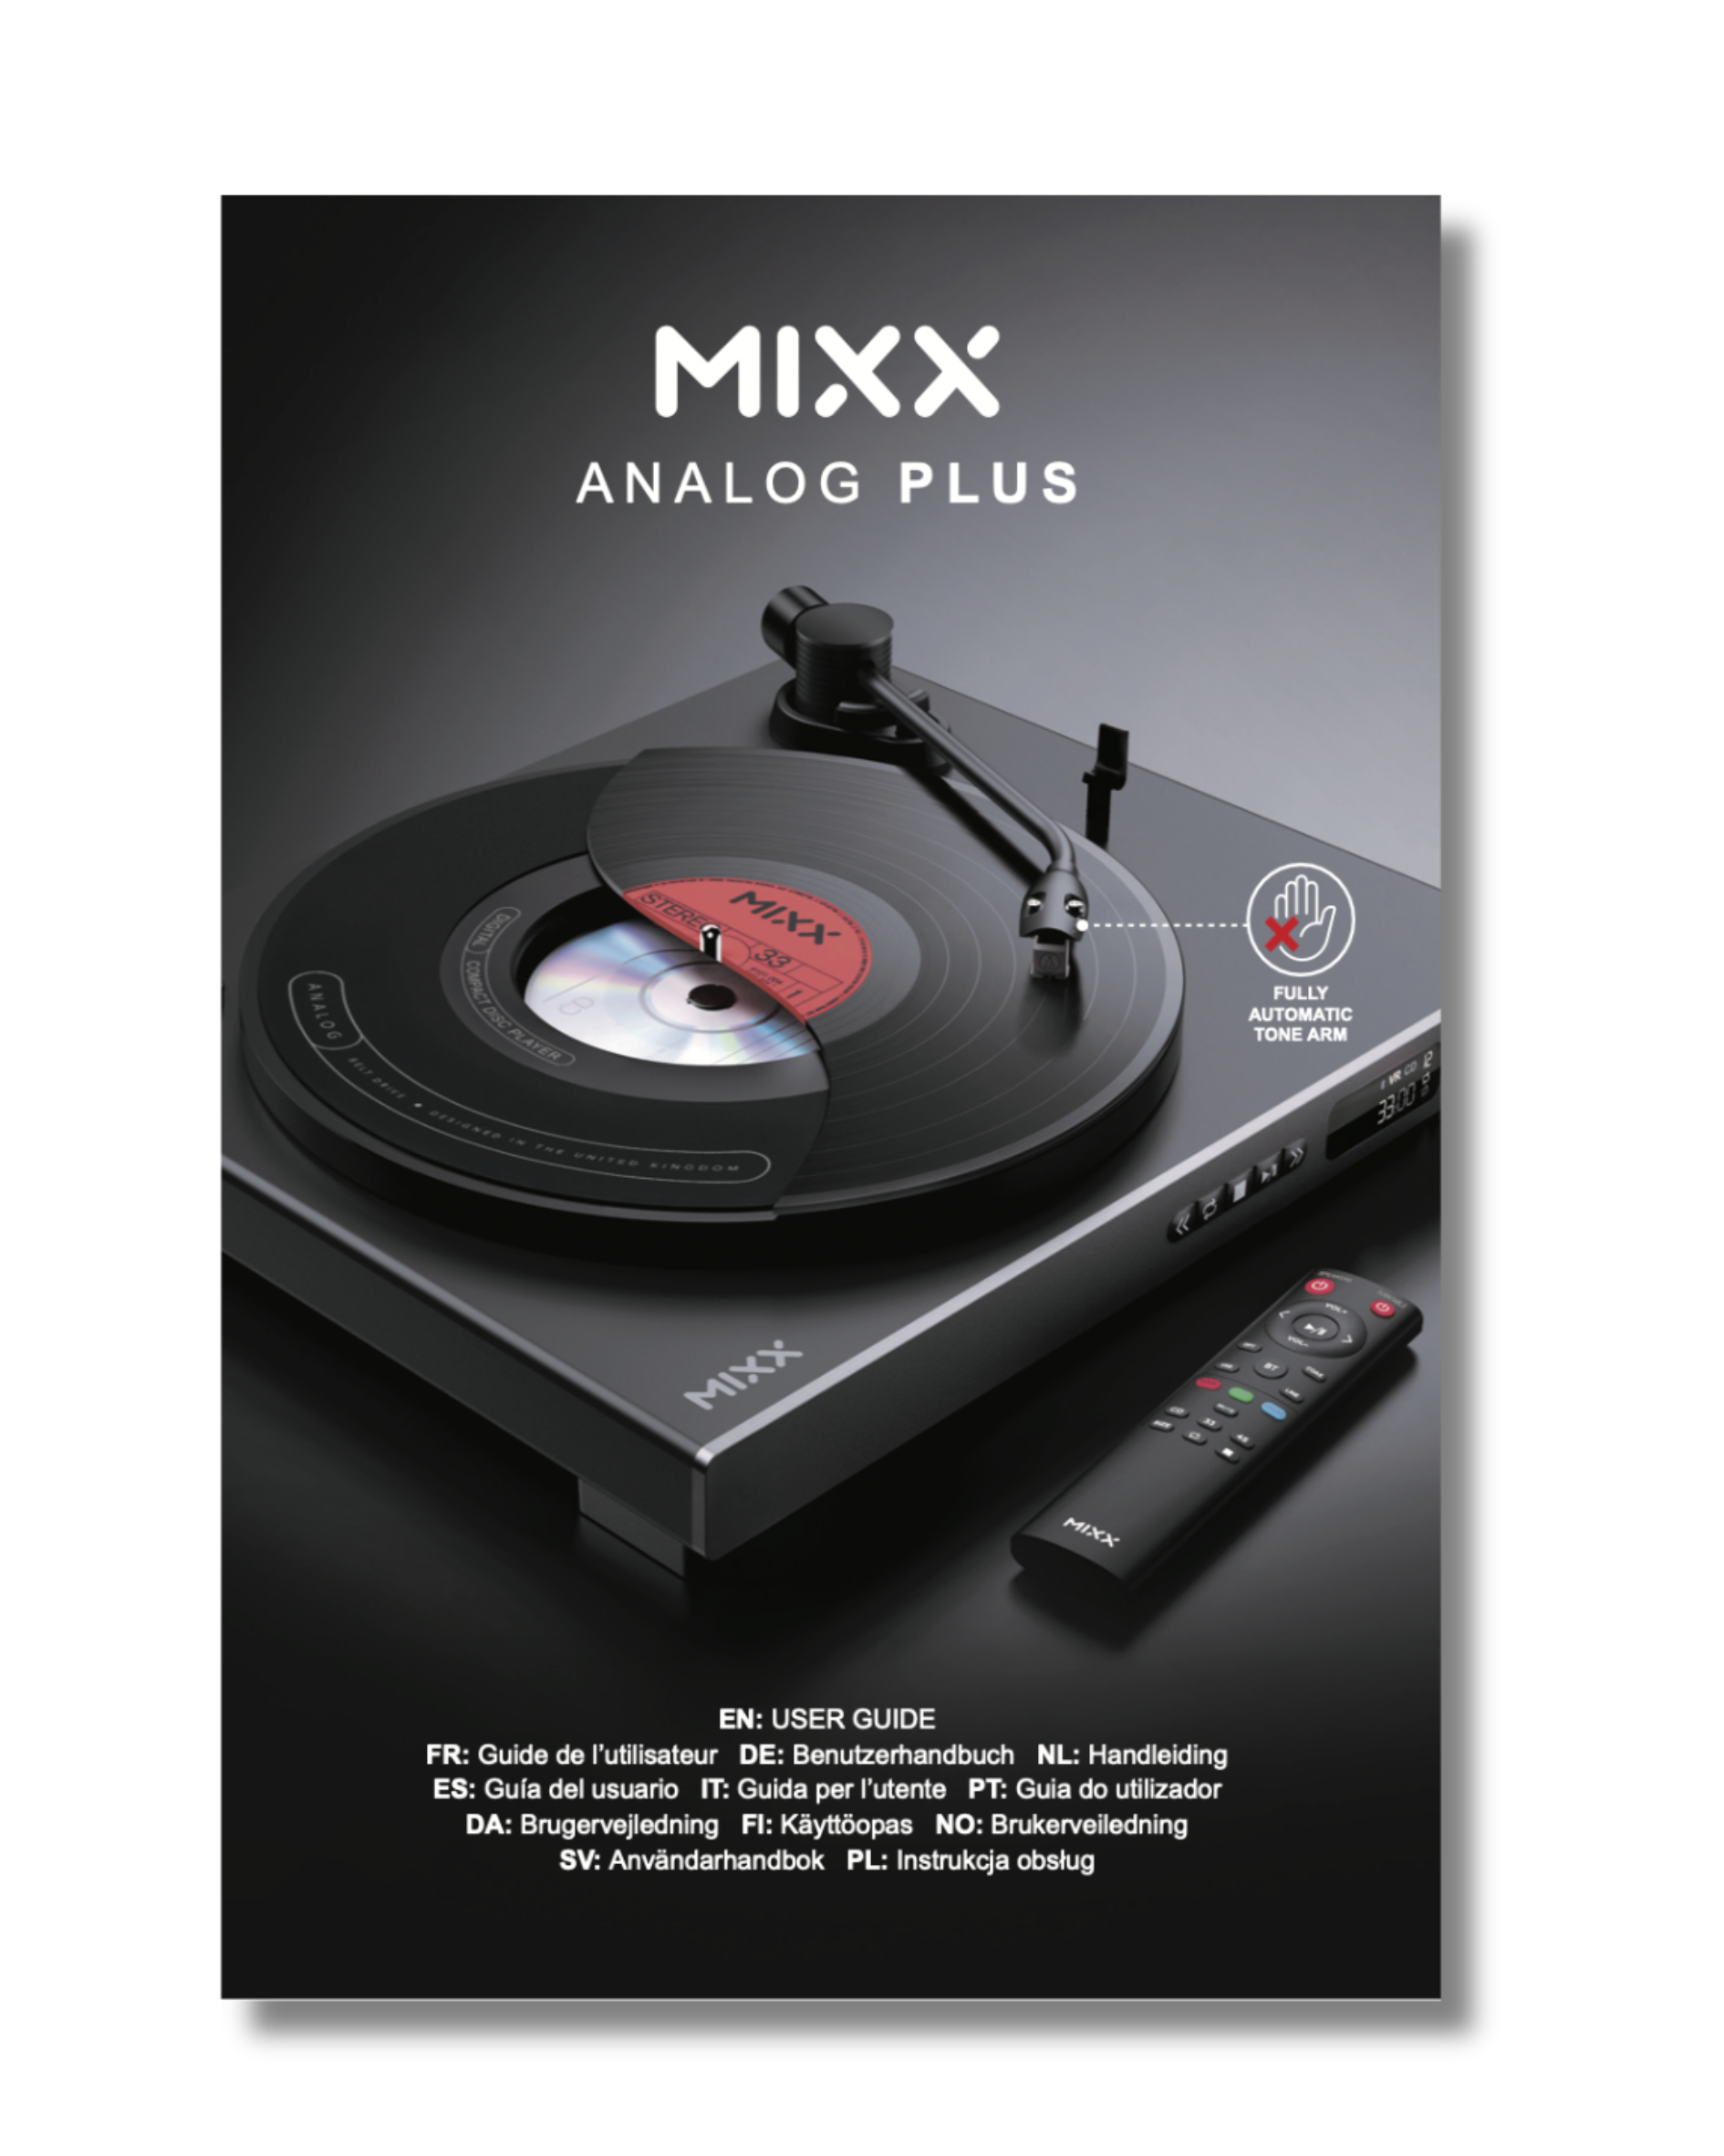
Mixx Analog Plus Support
Welcome to the Analog Plus Support page, created to help you get the most out of your product quickly and easily. Here you’ll find answers to our most frequently asked questions, with a direct link to the full FAQ page for more detailed support. You can also view and download the user guide for step-by-step setup and usage instructions, as well as watch our support videos for clear, visual guidance on key features and troubleshooting. Everything you need is in one place, so you can spend less time searching for help and more time enjoying your Analog Plus.


FAQs
How do I set up the Mixx Analog Plus Record Player for the first time?
Setting up the Mixx Analog Plus is easy, and because it’s a fully automatic turntable, it handles all the precision bits for you. Here’s how to get started properly.
Check what’s in the box
You should have:
- the Analog Plus turntable with the anti-slip mat and stylus already fitted
- a 45 RPM adapter (kept in the holder beside the platter)
- a regional power adapter
- twin RCA audio cables
- Dust Cover for the Record Player
- a remote control
Have a quick look through the packaging before you throw anything away, just in case something’s tucked into a cardboard sleeve.
We would recommend you keep the packaging to safely store it or to return it for any reason in the future
Choose where to put it
Place the turntable somewhere flat and stable. Avoid direct sunlight, heat sources, wobbly shelves, places that vibrate, and anywhere damp or overly dusty. Give it a sensible, solid home — it’ll perform at its best that way.
Fit the dust cover
Slide the dust cover onto the hinges at the back. They’re intentionally snug, so take your time and let it ease into place.
Remove protective bits
Take off any packaging materials, including the transport clip or tie holding the tonearm. Keep the stylus protector — it’s useful whenever the player isn’t being used.
Power it
Connect the DC power adapter pin to the back of the unit first, then plug the power adapter into the wall.
Please do not use any third-party power adapter, this could potentially damage the record player, hence void the warranty.
Once powered, the Analog Plus always starts in CD mode by default, so don’t worry if you see the CD display light up straight away.
Connect to your speakers
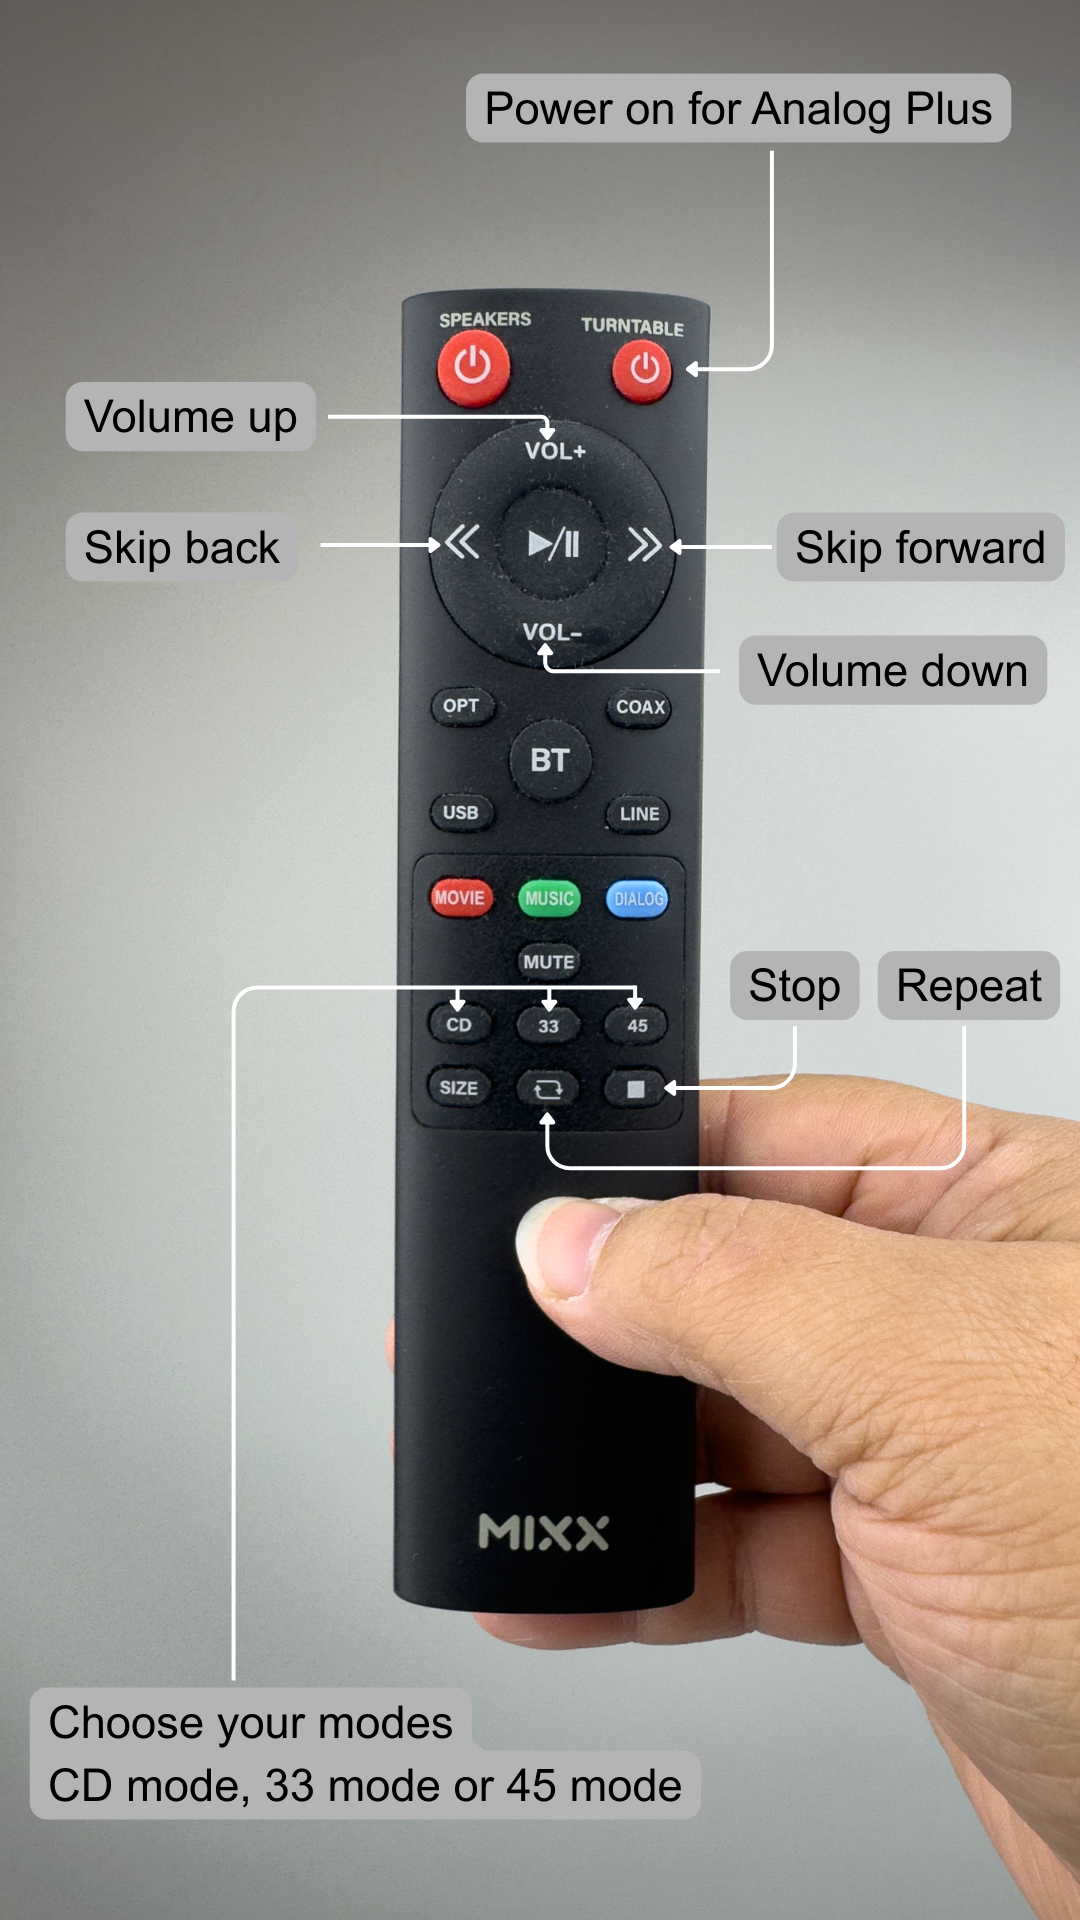
You can use wired or wireless speakers, controlled either from the unit itself or the remote control if you are using a Mixx Silver point speaker— both sets of controls work the same way.
Wired (RCA):
Use the included RCA cables to connect to powered speakers or an amplifier. Match red to red, white to white, and set the RCA/Bluetooth switch on the back to RCA.
Bluetooth:
Flip the RCA/Bluetooth switch to Bluetooth.
The Bluetooth icon on the display will flash.
Put your speaker or headphones into pairing mode — once connected, the icon stops flashing.
Both vinyl and CDs will play through Bluetooth.
Get it ready to play a record
Place your record on the platter.
If it’s a 7-inch single with a large centre hole, use the 45 RPM adapter from its holder.
Select the correct speed with the FN button (33 or 45).
Select the record size with the Size button (12" or 7").
Remove the stylus protector and open the tonearm clip.
Start listening (no manual tonearm movement needed)
Because the Mixx Analog Plus is fully automatic, never move the tonearm by hand.
Just press Play — either on the unit or on the remote. The turntable will:
- lift the tonearm,
- move it into the correct position,
- lower it onto the record,
- and start playback smoothly.
When you’re finished
Press Stop.
The tonearm will automatically lift, return to its rest and settle back into place. If you’re done for the day, pop the stylus protector back on.
What do all the buttons and icons mean on my Mixx Analog Plus Record Player and its remote?
Full guide here
How do I connect my Mixx Analog Plus Record Player to my speakers or sound system?
The Mixx Analog Plus can be connected either with RCA cables or wirelessly via Bluetooth.
Either use the RCA cables to connect to an amplifier or powered speakers with a Line In input, or go wireless via Bluetooth. Just flip the RCA/Bluetooth switch on the back depending on
For a wired connection, use the provided RCA cables to link the player to an amplifier or powered speakers with a Line In input. Ensure the RCA/Bluetooth switch on the back of the unit is set to RCA, otherwise the audio won’t be routed through the cables.
For a wireless setup, move the same switch to Bluetooth. The Bluetooth icon on the display will start flashing to indicate pairing mode. Switch on your Bluetooth speaker or headphones, begin pairing, and once connected the icon will stop flashing.
After that, both your vinyl records and CDs will play through your Bluetooth device without the need to change anything else.
How do I play vinyl records on my Mixx Analog Plus fully automatic turntable?
Playing records on the Mixx Analog Plus is very straightforward, and because it’s fully automatic, you don’t need to touch the tonearm at any point. Here’s how to get the best out of it.
Get your record ready
Place your vinyl on the platter.
If it’s a 7" single with the larger centre hole, slot the 45 RPM adapter into place — you’ll find it stored in the little holder beside the turntable.
Choose the right speed and size
Press the FN button on the turntable (or 33/45 on the remote) to select the correct speed for your record.
Press the Size button to set either 12" or 7".
The display will show “VR” along with the speed and size you’ve chosen.
This bit matters: if the size is set incorrectly, the tonearm won’t know where to drop. It can land in the wrong place or potentially damage your stylus, so it’s always worth a quick double-check.
Prepare the tonearm
Remove the stylus protector. You don’t need to touch the tonearm itself — the turntable handles everything from here.
Start playing
Press Play (either on the unit or the remote).
The Mixx Analog Plus will lift the tonearm, move it into position, gently lower it onto the record and start playing automatically. No manual placing, no lining things up — it does the lot.
Pause and resume
If you want to pause a record mid-play, press Play/Pause.
The tonearm will lift while the platter keeps spinning, and you’ll see “II” flashing on the display.
Press the button again and it will lower itself back to exactly the same spot.
Skip forward or back
You can move through a record electronically using the Forward or Rewind buttons.
A quick press nudges the tonearm slightly; holding the button moves it further.
The tonearm will reposition itself without you ever needing to touch it — in fact, you shouldn’t, as it’s a fully automatic mechanism.
Repeat play
If you want the record to loop continuously, press Repeat.
When the record reaches the end, the tonearm will return to the start of the first track and begin playing again.
Press Repeat once more to turn the feature off.
When the record ends
Under normal circumstances, the turntable recognises the run-out groove. The tonearm will automatically lift and return to its rest position. Simple as that.
If it doesn’t stop automatically
A handful of vinyl pressings don’t have the standard end grooves the turntable looks for, so it may not know the record has finished.
If this happens, just press Stop and the tonearm will return to rest.
It’s not a fault — just a quirk of some records.
Full FAQ List
To see our full FAQ list, click here